Chevrolet Sonic Repair Manual: Engine Block Cleaning and Inspection
Special Tools
EN-8087 Cylinder Gauge
For equivalent regional tools, refer to Special Tools.
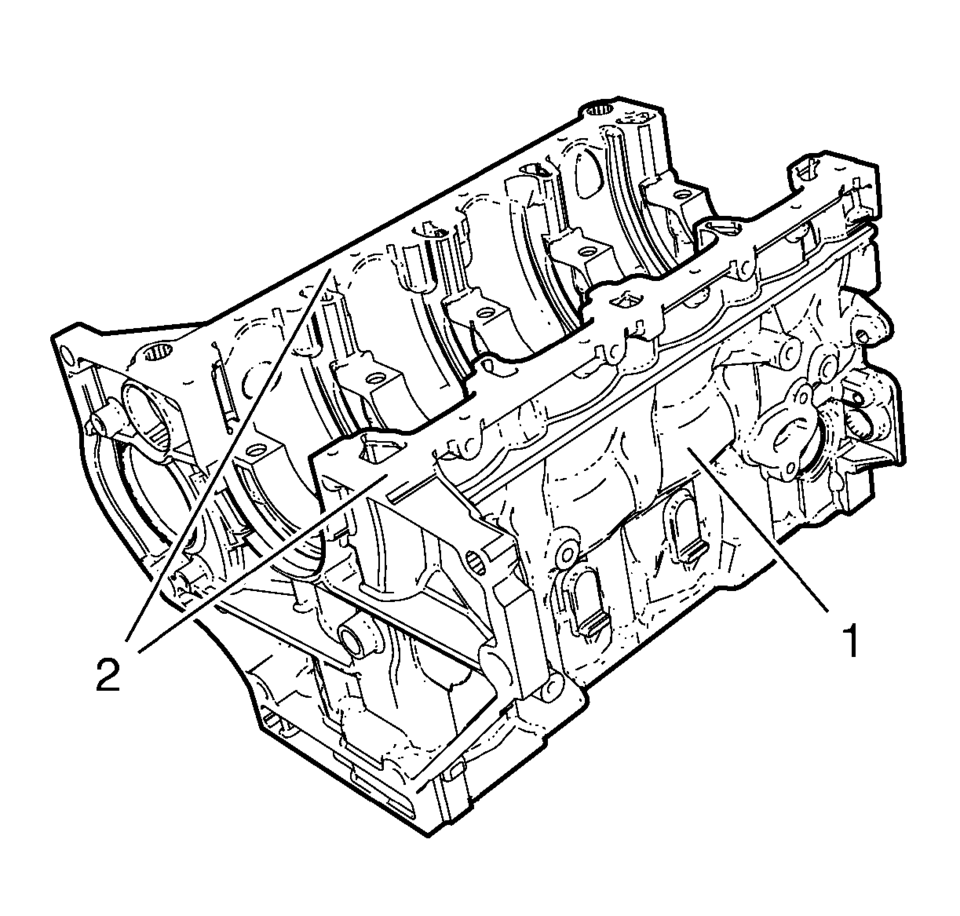
- Clean the sealing material from the gasket mating surfaces (2).
- Clean the engine block (1) and lower crankcase in a cleaning tank with solvent appropriate for aluminum. Refer to Adhesives, Fluids, Lubricants, and Sealers for the recommended solvent.
- Flush the engine block with clean water or steam.
- Clean the oil passages.
- Clean the blind holes.
- Spray the cylinder bores and the machined surfaces with engine oil.
- Inspect the threaded holes. Clean the threaded holes with a rifle brush. If necessary, drill out the holes and install thread inserts. Refer to Thread Inserts.
- Inspect the engine block for sag in length and width on the sealing surfaces.
- Inspect the engine block for distortion along the diagonals.
If the deck surface is out of specification, replace the block. Do not machine the block.
- Clean the sealing material from the gasket mating surfaces (1) on the lower crankcase oil pan side.
- Inspect the crankshaft main bearing bores. Use the EN-8087 gauge (1) to measure the bearing bore concentricity and alignment.
- Replace the engine block and bed plate if the crankshaft bearing bores are out of specification.
- Inspect the cylinder bores using the EN-8087 gauge (1). Inspect for the following items:

Note:
Do not attempt to machine the lower crankcase to engine block surfaces.


- Wear
- Taper
- Runout
- Ridging
 Engine Block Disassemble
Remove the cylinder head locating (1, 2).
Remove the oil pressure switch (1).
Remove the knock sensor bolt (2) and the knock sensor (1).
Clea ...
 Cylinder Block
...
Other materials:
Overview (Radio with Touchscreen)
1. VOL
(Volume)
Press to decrease or increase the volume.
2. (Power)
Press and hold to turn the power on or off.
3. (Home Page)
Press to go to the Home Page. See Home Page (Radio with Touchscreen).
...
Emblem/Nameplate Replacement
Caution: Refer to Exterior Trim Emblem Removal Caution.
The part and vehicle surface should be 21?°C (70?°F) prior to installation.
The vehicle should remain inside in a temperature range of 21?°C (70?°F) for
1 hour after assembly to allow the adhesive to develop sufficient bo ...
Transmission Mount Replacement - Left Side
Removal Procedure
Remove the battery tray. Refer to
Battery Tray Replacement.
Install the engine support fixture. Refer to
Engine Support Fixture.
Remove and DISCARD the left transmission mount to
bracket bolts (1).
Remove the left transmission mo ...

0.0073