Chevrolet Sonic Repair Manual: Transmission Assemble (Gen 1)
Special Tools
- 3-9506289 Universal Adapter
- R-0007758 Holding Fixture
- S-9407197 Differential Rotating Tool
- S-9407198 Differential Bearing Race Wrench
For equivalent regional tools, refer to Special Tools.
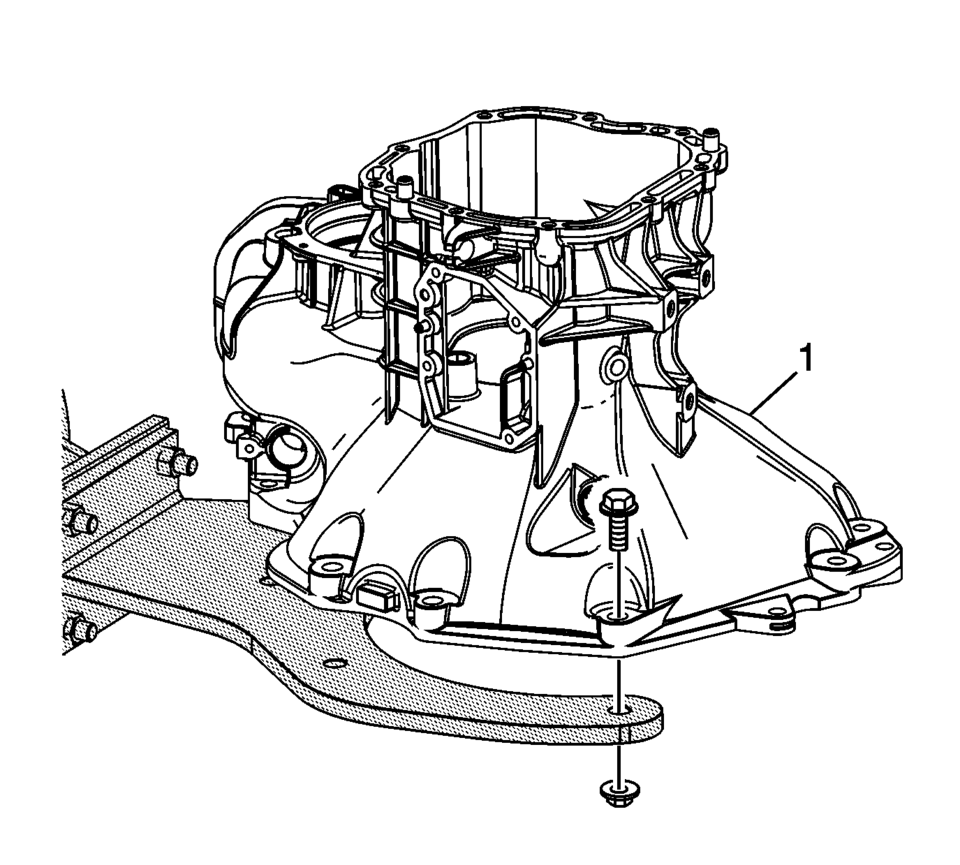
- Install the clutch and differential housing assembly (1) onto the R-0007758 holding fixture.
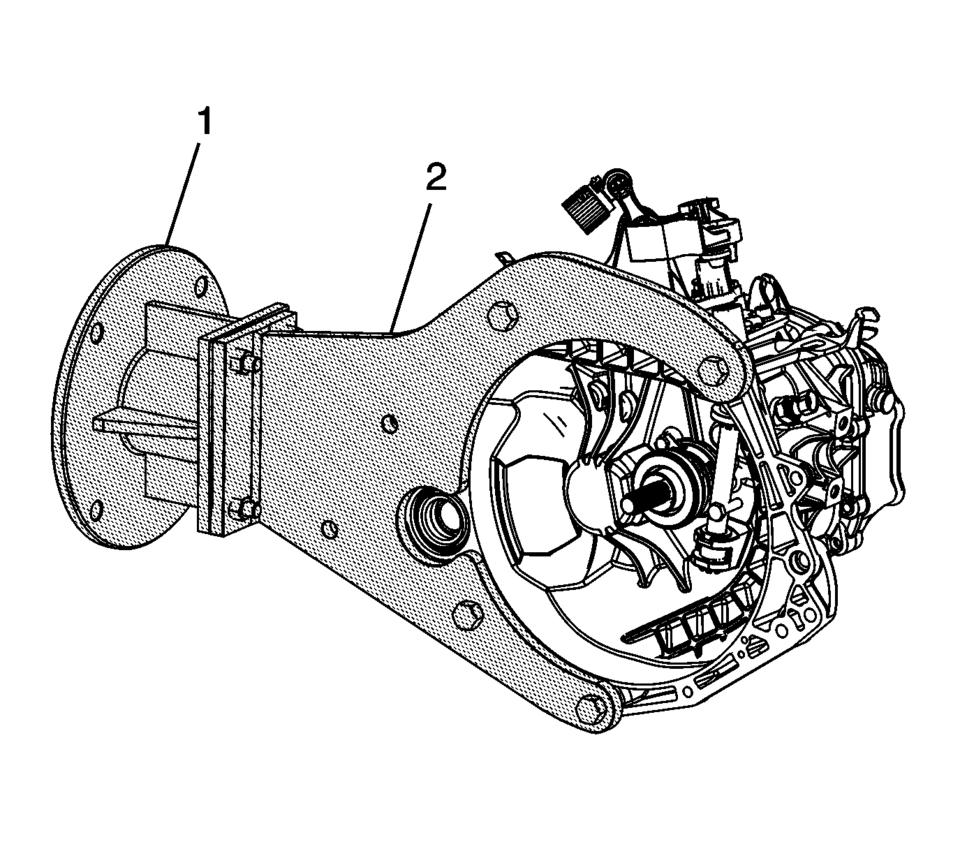
- Install the front differential carrier (1).
- Install the gasket (3) and differential carrier cover (2).
- Install the front differential carrier cover bolts (1).
Tighten to 7 Y (61.96 lb in)
.
- Lubricate the O-ring seal (2) with multipurpose grease and install onto the differential bearing adjuster (1).
- Lubricate the threads on the differential bearing adjuster with multipurpose grease.
- Using S-9407198 differential bearing race wrench install the front differential bearing adjuster (1).
- Align marks on the differential bearing adjuster and case (1).
- Using the S-9407197 differential rotating tool and a torque wrench, rotate the differential (1) 1 revolution per second.
- The breakaway bearing torque should be:


Note:
If all the components are re-used align adjuster to marks. If any component was replaced go to the next step.

Note:
If no components were replaced, the bearing adjuster can be aligned to the marks. If any component was replaced, the following procedure must be performed.
- Re-use bearing ?#8201;60?00 Ncm
- New Bearing ?#8201;150?10 Ncm

.

.

.

.
.


.

.
 Thrust Washer and Bearing Cleaning and Inspection
Warning: Wear safety glasses to avoid injury when using compressed
air or any cleaning solvent. Bodily injury may occur if fumes are inhaled
or if skin is exposed to chemicals.
...
 Transmission Assemble (Gen 2)
Special Tools
3-9506289 Universal Adapter
R-0007758 Holding Fixture
S-9407197 Differential Rotating Tool
S-9407198 Differential Bearing Race Wrench
For equivalent regional tools, refer ...
Other materials:
Front Side Door Window Regulator Handle Replacement
Front Side Door Window Regulator Handle Replacement
Callout
Component Name
1
Front Side Door Window Regulator Handle Clip
Procedure
Use the appropriate tool, remove the clip from handle.
2
...
Rear Seat Back Cushion Cover and Pad Replacement (AMA 60% w/Split Back)
Rear Seat Back Cushion Cover and Pad Replacement
Callout
Component Name
Preliminary Procedure
Remove the rear seat back cushion. Refer to Rear Seat Back Cushion
Removal and Installation
Remove the rear seat head restraint ...
Tire Inspection
We recommend that the tires, including the spare tire, if the vehicle has
one, be inspected for signs of wear or damage at least once a month.
Replace the tire if:
The indicators at three or more places around the tire can be seen.
There is cord or fabric showing through the tire's ...

0.0128